First up:
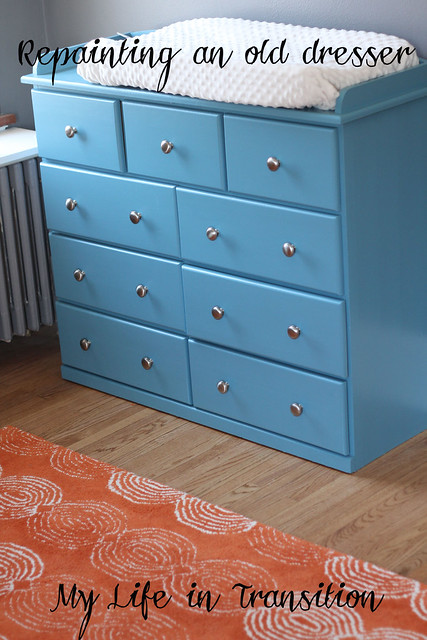
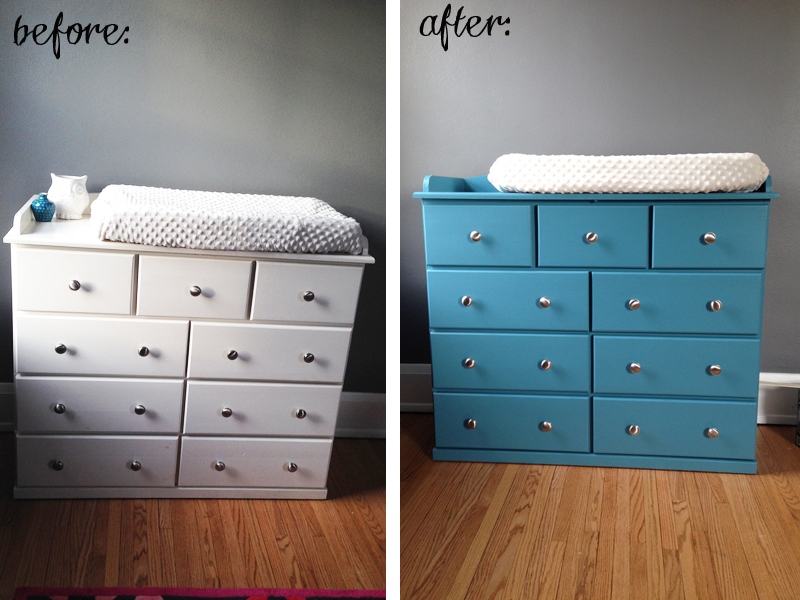
1. This white, wooden changing table/dresser combo was a Craigslist find back in 2009 as I decorated Truman's nursery. I remember the seller being very excited about it being 'custom made' and wouldn't drop the price from the original $75 because it's real wood. When we bought it back in the day, I repainted it white again and added silver knobs in place of the red wooden ones. And thus, our little changing table/dresser worked like magic for both Truman AND Cecelia.
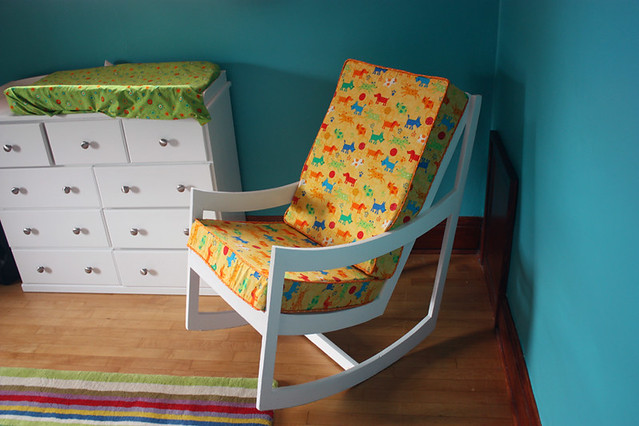
Truman's nursery, before the changing pad cover was finished:
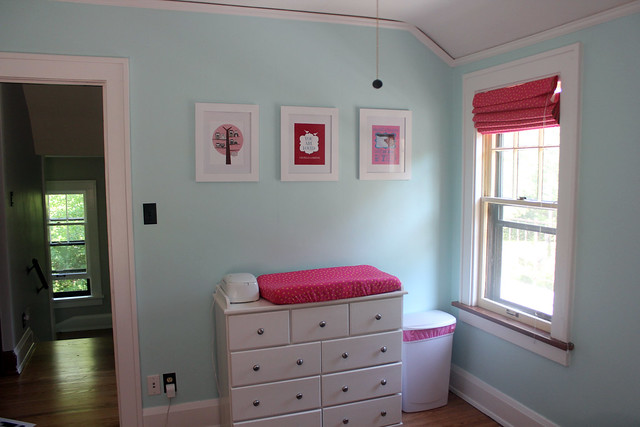
And Cecelia's nursery:
When it came time to 'start fresh' with baby boy's nursery this time around, I started getting the furniture-painting itch. I blame Pinterest for my love of painting furniture and I figured that this piece needed a little upgrade from the past 4 years of wear and tear anyway. I didn't feel like buying any new paint, though, and once I had my 'vision' of gray, turquoise, yellow, and orange being the colors for the nursery, I knew I had my solution for the dresser. Lucky for me I just so happened to have over a 1/2 gallon of turquoise-ish paint left over from painting the walls of our tiny half bathroom. It's technically Behr's 'Harbor' in a satin finish and usually I'd pick a semi-gloss for furniture, but this will do just fine.
I cleaned the dresser off with a wet/soapy rag and let it all dry. I removed the knobs and pulled out all of the drawers, placing them on the floor on top of a drop cloth. And I went to town painting this well-loved dresser turquoise!
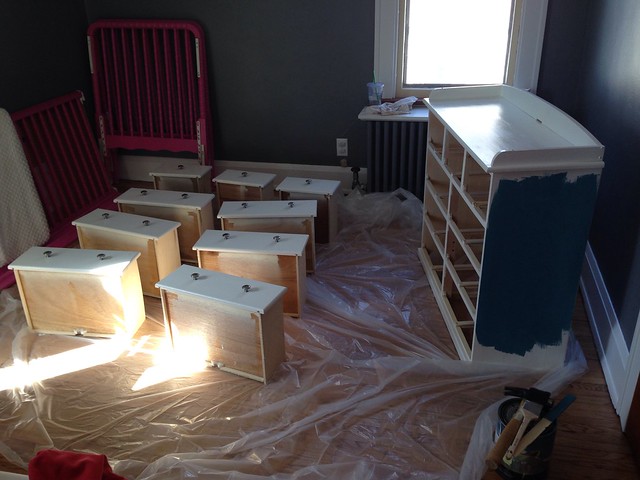
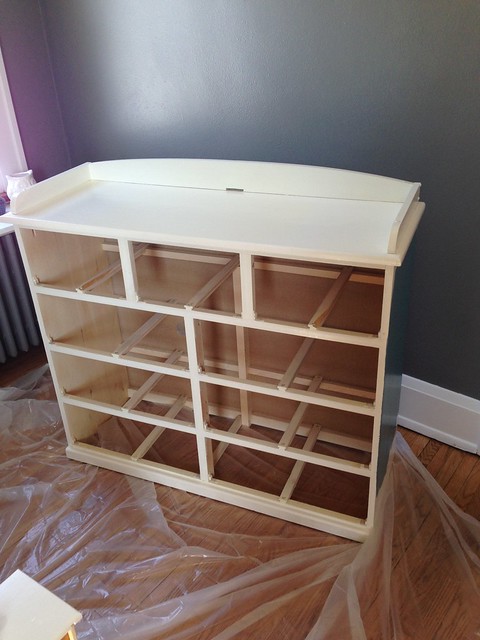
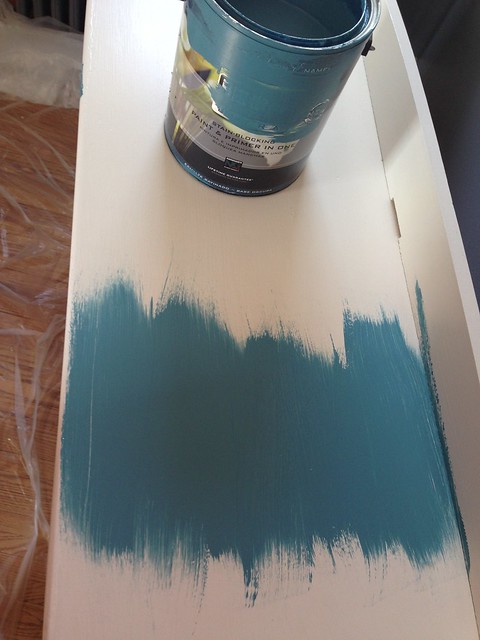
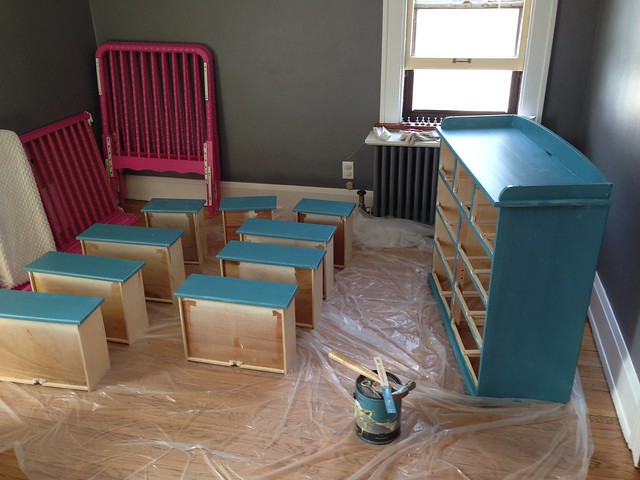 It needed two coats of paint but was a very quick project overall. Each coat only took about an hour and so after two nap times I was basically done. Nice. My kind of project. The kids helped me re-assemble the dresser and took pride in finding the right spot for each drawer.
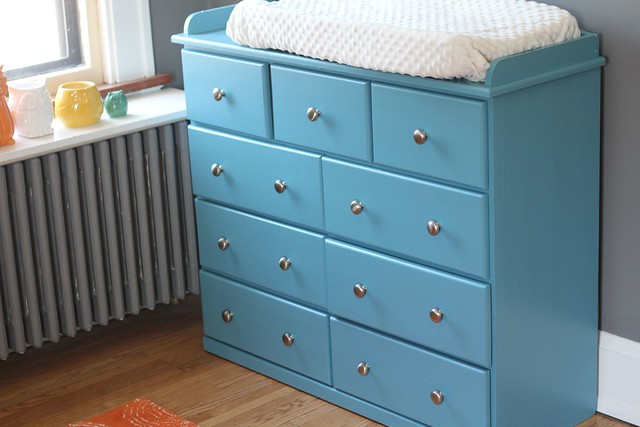
Ta-Da! Ready for a squishy baby butt.
Second up:
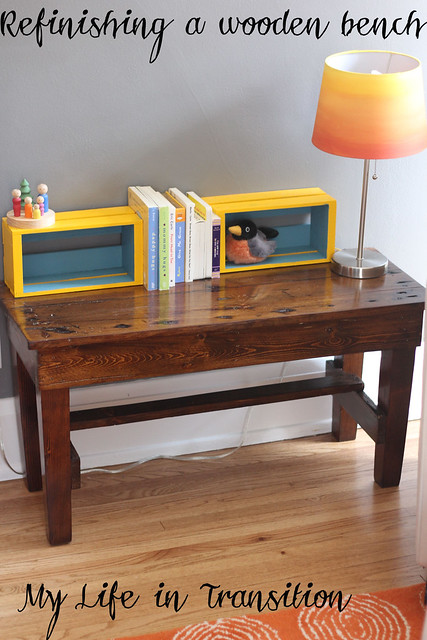
2. I briefly mentioned this wooden bench in a weekly pregnancy update. Initially I was on the hunt for a bookshelf to place beside our glider, and I knew I wanted it to hold a lamp and my water as I nurse baby boy. It always bugged me when I would nurse Cecelia in the glider because I didn't have a proper place to stash my gallons of water!
I peeked on Craigslist a bit and even hunted on Ikea for the perfect bookshelf. And then one day I was in the basement with the kids, prepping the crib to be painted when I set something down on this random wooden bench we've always had down there. I remember moving into the house and Nate and I both commented that it was a really neat bench even though the paint was in pretty rough shape. He always used it for storing tools and boxes downstairs, but I had a lightbulb moment when I realized it would be 'rugged' and the perfect size for the nursery.
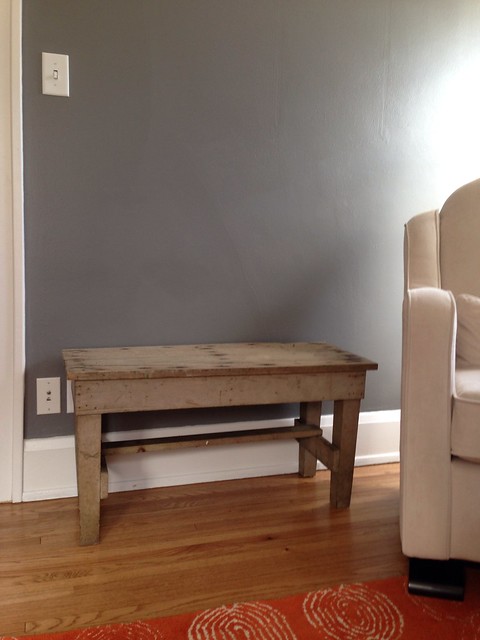
I cleaned it up the best I could (again, just soap and water) and put it next to the glider to check it's fit. PERFECT! I even considered leaving it the grayish-green color because I liked how beat up it was...but truly hated that shade of paint. Then I thought about painting it bright yellow, like the crib, or even turquoise like the dresser. Tony saw it up in the nursery one day and asked what I was planning to do with it---I told him I wasn't sure, but didn't like the paint now. His wheels started turning and I said, 'Hmmmm, do you think you could sand off the old paint for me?' He happily obliged because he is a sucker for refinishing wood---he's sanded down a few of our house doors to be more natural and less varnish-y, he's sanded off most of their white woodwork trim in their house for the natural look, he's refinished our back stairs and all of their flights of stairs, and he has even sanded off all of their wooden house exterior siding before repainting it all. We joke that his 'repainting the house' project is just a continuous event that lasts 4 years each time he begins it. The man loves sanding wood and has a few really good rotary and belt sanders.
Yes, Tony is a godsend for our DIY projects in an old house. Just wait until I really go into detail about what he's done in our basement remodel!
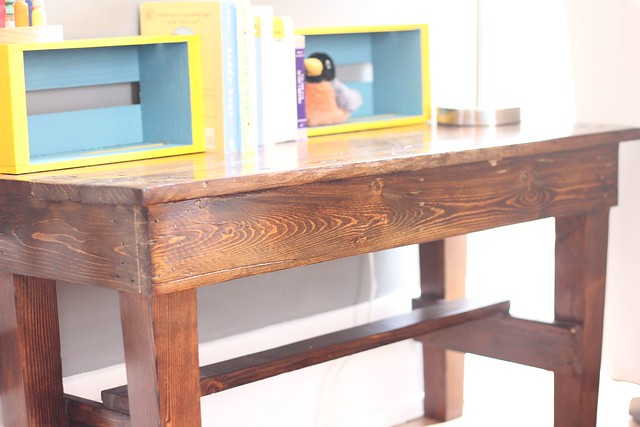
Anyway, Tony spent a morning sanding off all of the old nasty paint on the bench. He brought it back over to me and I knew there was no way I should paint this baby---the wood was so pretty and the dark nails stood out perfectly to make it seem rugged and authentic (it is!). I could have just polyurethaned the bench at that time, leaving it very light but dark wood is more our style. Nate agreed that staining it would be best, plus I have a few other dark wood items in the nursery right now with the same stain.
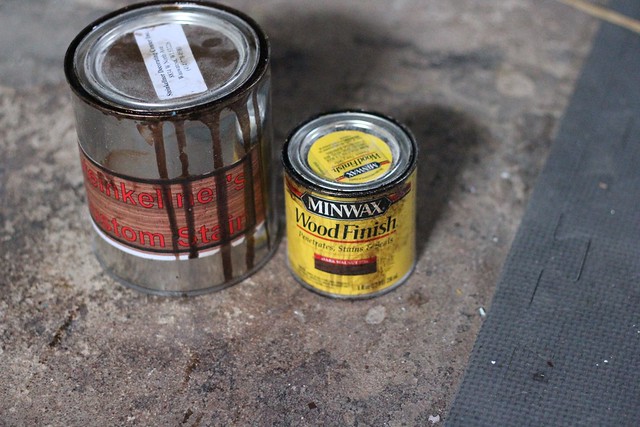
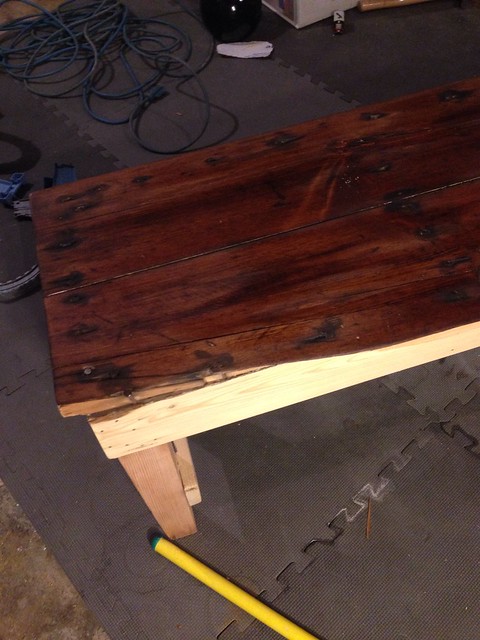
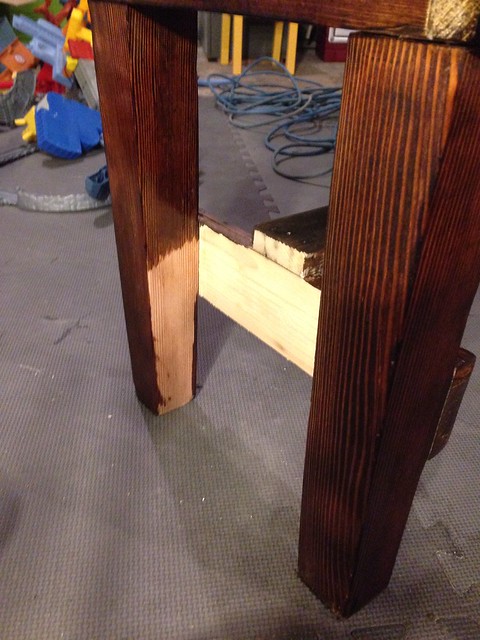
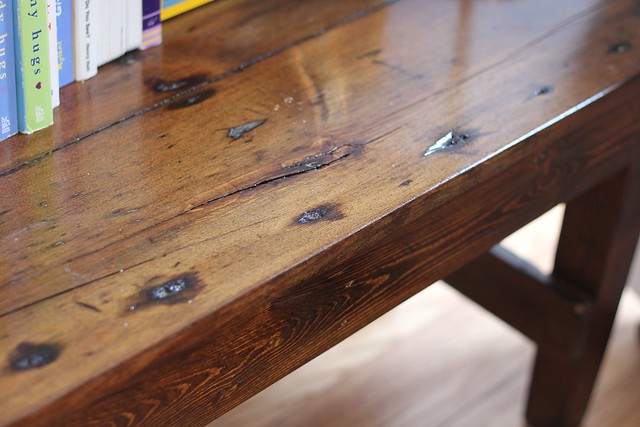
I used an old stain we had in the basement, which I thought was the one Pepaw used to stain our handmade dining room table...but I'm not sure it's the same can. We usually like MinWax for stain but this can was something else more 'custom' from a local shop nearby. Anyway, it needed one coat of stain, then two coats of polyurethane. And this time I used the same poly we bought for our back stairs---it's expensive but awesome, and I love how shiny it is! It's oil based, so I don't want to use it on the crib to finish it off, but for a bench it's perfect (and for our back stairs).
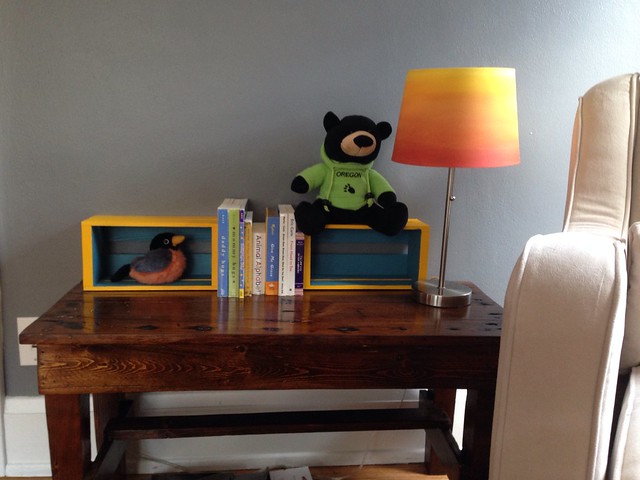
And? Ta-da! Perfect little bookshelf/lamp holder/water holder.
Before and after:
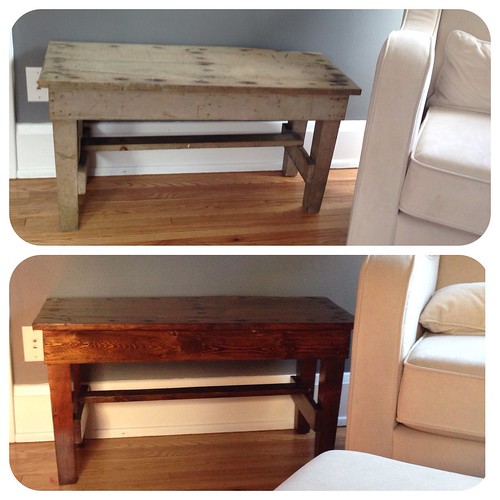
So shiny!
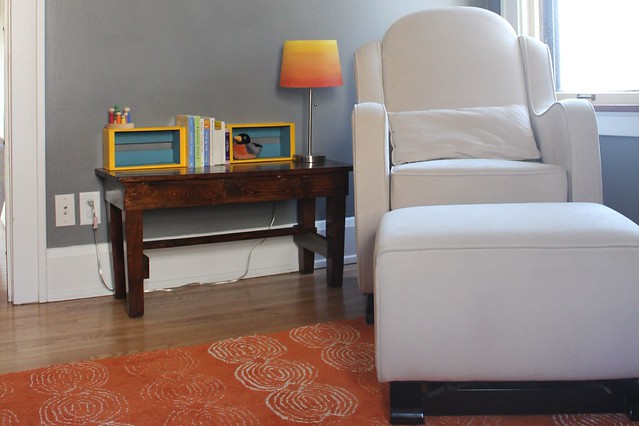
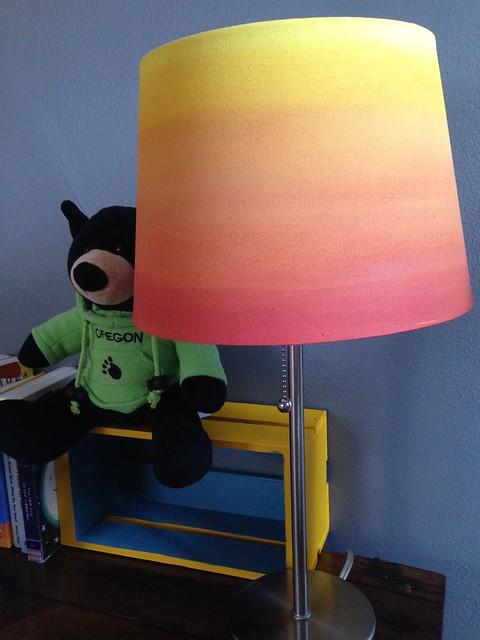
Now, I should have done a better job documenting the painted ombre lampshade, but I just sort of did it one day. That isn't very helpful, is it? I used simple acrylic paints that I had on hand from Michaels. I wasn't sure if I should use wall paint, fabric paint, or what...but I decided to go for it with the acrylics since they say they are 'multi-purpose'. And my new white lampshade was a whopping $10 so if I totally messed it up, I figured it would be alright to buy another one. All I did was mix together red and yellow to get the correct orange color. I watered it down a lot and started with the thinner stuff on the top of the shade and used the thicker orange at the bottom. It wasn't quite the look I wanted, so I added red to the bottom and yellow to the top to make it pop a little bit more. I was using this as my inspiration pin and it SO doesn't look anything like that lampshade, but oh well! I still love how it turned out. It took me about an hour to get the gradient just right and then I had to force myself to stop mixing and painting more shades of orange.
That's it for the DIY projects today! Many more up my sleeve!

That lamp shade! I have looked at white shades twice and got sweaty about painting - wimp I know! I can't wait to see the whole room!
ReplyDeleteThese look awesome! I wish I had your love of painting rooms and furniture. Can't wait to see the finished room!
ReplyDeleteIt all looks awwwwesome! That dresser was SUCH an amazing find, I wish I could find something like that!! Need to be more diligent about looking, I guess. As I've said, so excited to see it all in person!! Lucky little baby boy. :)
ReplyDeleteJulia, have you heard of Annie Sloan Chalk Paint? You can use it on any surface...paper, fabric, wood, etc. No prep required!
ReplyDeletehttp://www.anniesloan.com/
Nursery is so cute! You could sell that lampshade, looks WAY better than the example pin :)
ReplyDeleteBoth look beautiful. I have a small bookshelf I'd like to paint that I just can't get myself to start. I'm sure that is something you could crank out in 15 minutes and it will take me forever! Your DIY creativeness is always interesting to see/read.
ReplyDeleteYou are so crafty these days! It's killing me! I love every one of your projects and want to do them too. I just finished painting a dresser for Mim's room and I can say that has officially got me over the painting craving. But I love the ombre lamp shade. I've been thinking of doing an ombre canvas to hang on the wall in her room with the leftover dresser paint. You may have just inspired me. :)
ReplyDelete