I blogged about the Halloween party I planned earlier in the school year, and wanted to write this one out, too. You know, in case I need to refer back to this for future years (ahem, Porter and this baby might be having the SAME STATIONS as Junior Kindergarteners!). Also, I found Pinterest and other blogs helpful as heck when planning this party. What did room moms do before Pinterest?? ;)
Reminder: there are twenty-eight four and five year olds in Cecelia's class. I am nearly twenty-eight weeks pregnant. I didn't have my current job when I signed up to be room mom, so it was a little trickier to make this date work. I was off today and went to the office yesterday instead, and I am TIRED after this party, for real. But it was a blast and went incredibly smoothly! I tried to keep my prep time to a minimum this time around, as I've gotten myself into trouble with very elaborate crafts in the past (not me!). I didn't want to do anything with paint and didn't want a ton of crafts to be wet and drying over break, but I wanted the kids to get moving and consume some sugar. Sounds simple enough, right?
I divided the kids into six groups, each having four or five kids in a group. We had an hour-and-a-half for the party, so I made six stations and each lasted for fifteen minutes. Pro tip: I wrote the names of each group on a card, then passed that card to each adult helper when it was time to rotate the groups. There is no way to keep track of where these tiny bodies belong otherwise! This time I planned the stations, prepped with supplies, then emailed my helpers ahead of time so they were aware of their stations and what they could bring if I couldn't cover it all. That was also a game changer this time around---made for less chaos on the day of the party.
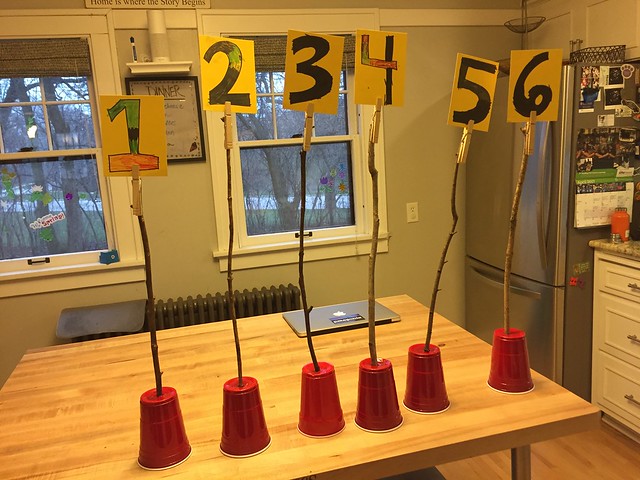
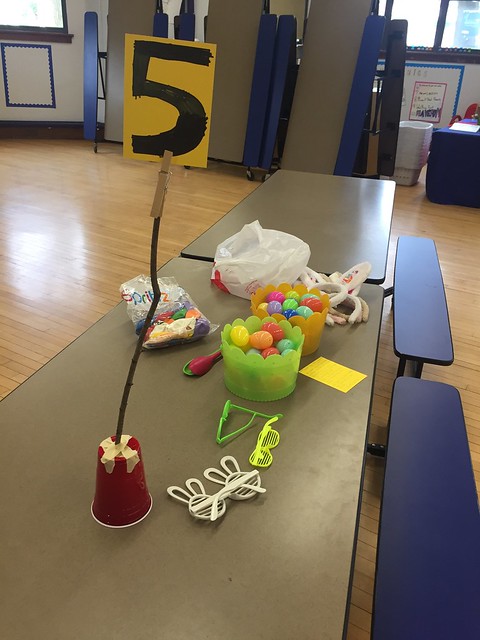
Also, it's always bugged me that the kids don't really know where to go when it's time to move stations. I considered buying tall table number stands on Amazon but felt too cheap to pull the trigger. Instead, Cecelia and I gathered six tall sticks from our back yard. I hot glued a wooden clothes pin to the top of the sticks. Then I poked a hole into the bottom of a Solo cup and jammed the stick into it. Cecelia helped me make number signs that clipped into the clothes pin, and voila! Homemade table numbers, for easy referral ('go to table five next, children!'). I donated the table numbers to the teacher, hoping she can use them again....or that I can use them again if/when I'm room mom in her classroom with the little boys someday;)
I ended up using very classy masking tape to hold the sticks in place at the cup. They were just too wobbly until then!
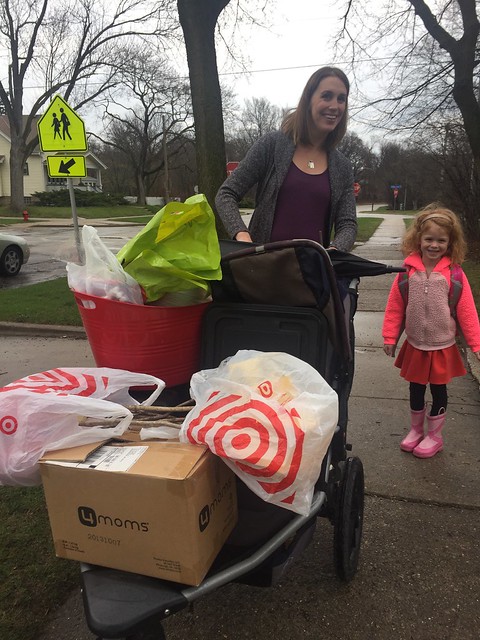
(pushing the haul to school this morning, thank goodness for a double BOB!)
Here is what we did this time around, and I wouldn't really change anything about how it all went down.
Station 1: Spring sensory bin.
I was inspired by this pin and decided a tub full of spring-themed junk would be Cecelia's IDEAL station in any party. I also liked this pin, but once I struck gold in Target's Dollar Spot, I knew our tub would be full of random stuff. I also had many of the items already because my daughter loves collecting the strangest things. I compiled a whole bunch of stuff, added our Easter grass collection, and voila!
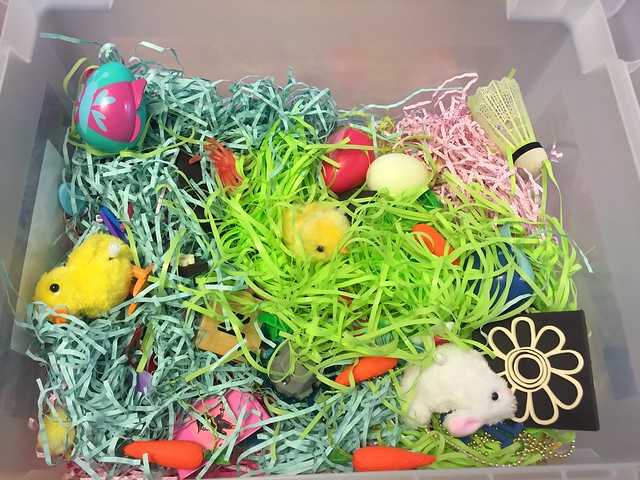
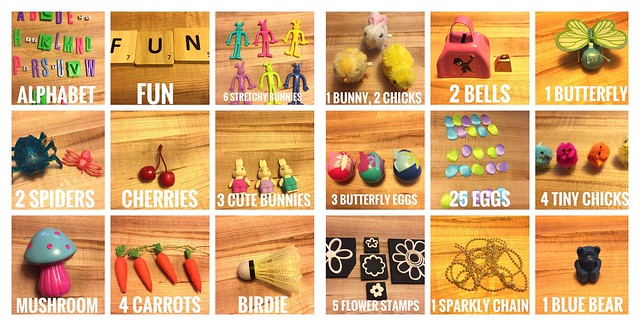
I took pictures of everything before tossing them in the bin, and then put the pictures together and printed off these sheets of paper. I thought this would make it more fun for the kiddos during their treasure hunt. Each group had one piece of paper (so much ink to print at home!) and they crossed off the items they found.
Truman and Cecelia gave it a whirl for me before the party and it went over really well. The only suggestion I provided was to use the various tweezers, tongs, magnifying glasses instead of just digging around with their hands.
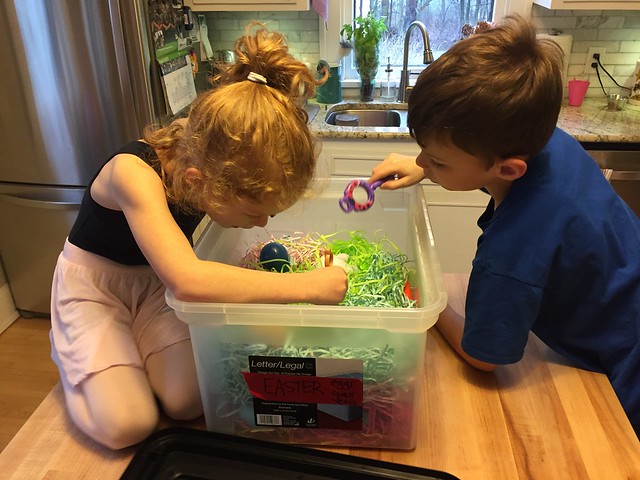
THIS is what happened at the party;) Apparently the kids figured out how to pull all of the grass out of the bin, then could sort through things easier. I still don't think they found everything, some of the alphabet letters were very tiny. And I think fifteen minutes was enough for most kids, but my daughter could still easily play with this for hours. In fact, she did play with this bin after the party for a few hours at home!
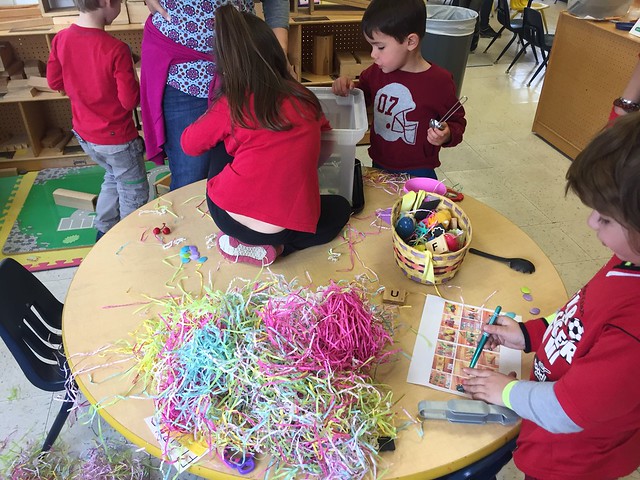
Also, it should be noted that a sensory bin like this is really easy to transport. I used a bin that I normally store all of our Easter stuff inside and made sure to have a lid. That's it! Pinterest told me to use colored rice instead of Easter grass, but the grass was a lot easier to clean up, I think.
Station 2: Marshmallow bunny craft.
When Cecelia was helping me scour Pinterest for ideas, she saw this one and immediately declared it was The Chosen One. I tried to convince her we could use cotton balls instead of marshmallows, but that was not an option for sis. It did take a little more prep work than I wanted, but it turned out really cute!
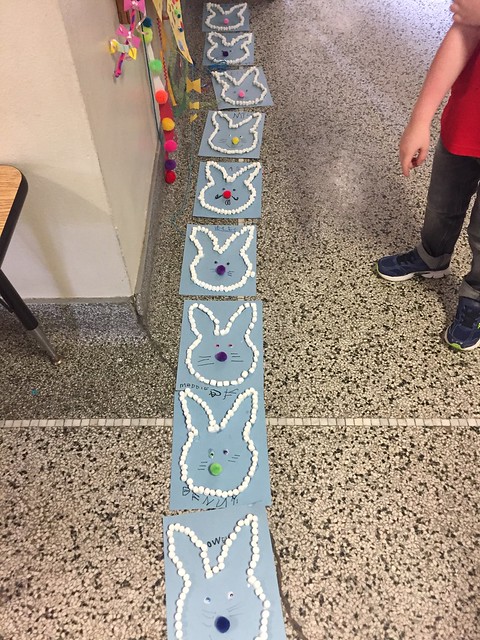
Supplies needed: colored construction paper, a stencil that I drew onto the papers ahead of time, google eyes, pom poms for noses, markers for names and whiskers, glue bottles, and approximately 70 mini marshmallows per child. Yes. I know. Crazy. We also had Solo cups for each kid that we used to pre-fill about 85 marshmallows. I just didn't want them grabbing out of the bag over and over again and that did help things run smoothly. My math shows that I allowed 15 marshmallows to be ingested during this craft, too. We had eight 10oz bags of marshmallows and I came home with 2 bags. I smell Rice Crispy Treats in our future!
I had Truman and Cecelia practice this craft for me over the weekend, so I could time it. Sister was done in about 10 minutes and Truman less than that.
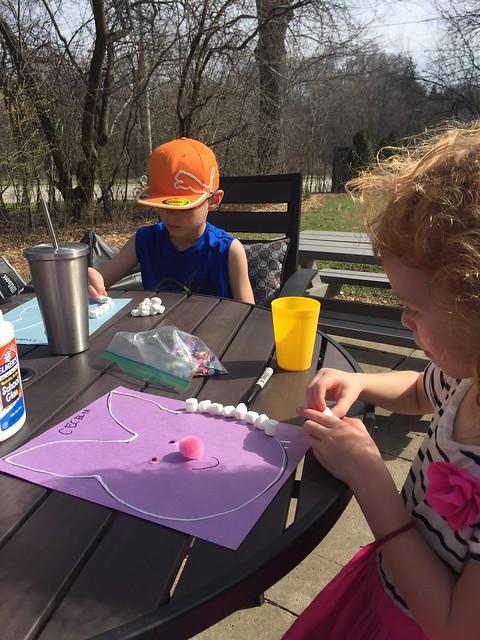
Another tip: have the adult place all of the glue around the bunny and for the eyes and nose. That way the kids could just focus on the marshmallows. Also, make the glue for the marshmallows plentiful. They won't stick well otherwise!
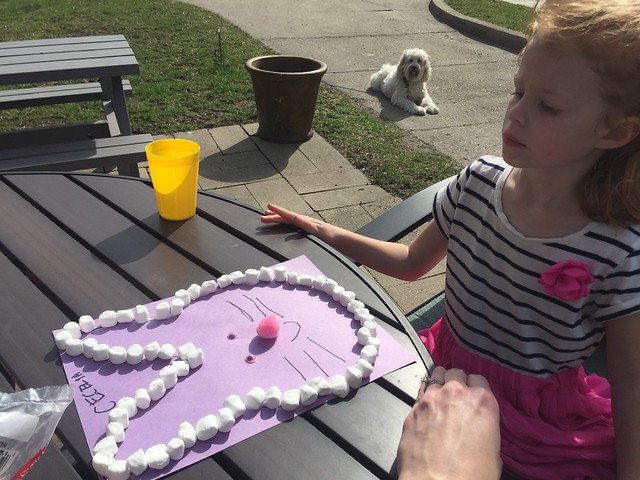
During the party, one of the grandma helpers rocked this station! She even had time to read a book to the kids, which I found impressive. I thought this was going to take the longest but it didn't.
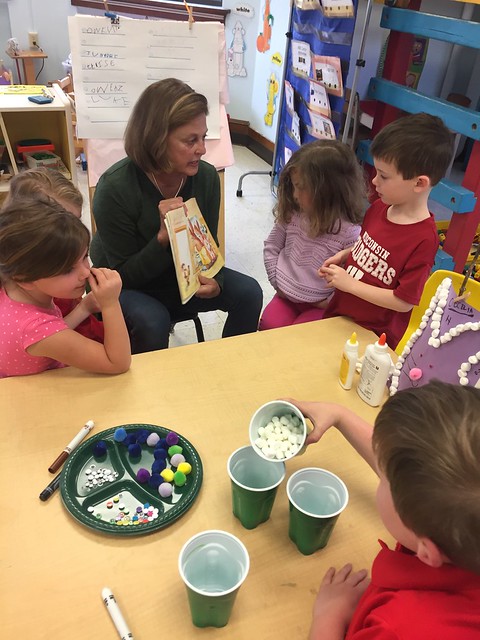
Station 3: SNACK STATION! I made a few suggestions to one of the helpers who offered to do the snacks this time around. This was one of them, as it seemed 'springy' and fun, and let the kids actually do something besides just eat. They had fun putting together the baggies and drawing on the clothes pin, and I saw many of the kid clip these to their backpacks 'to go'.
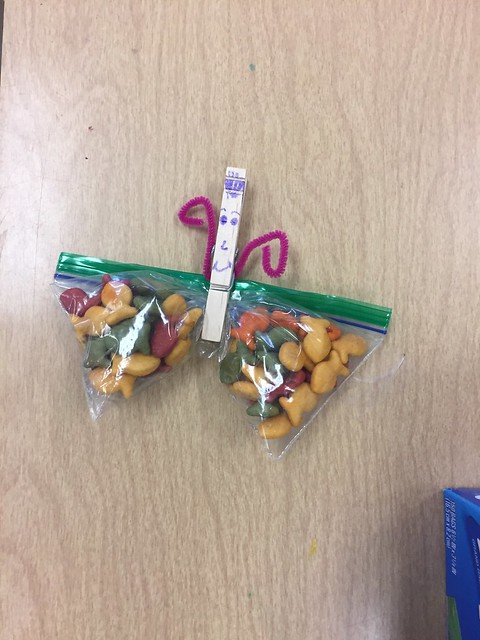
She also did chocolate covered pretzel rods, and another mom made fruit and Peeps kabobs. Apparently this was the first time Cecelia has ever had a Peep and she will tell you that was her favorite part of the entire party;) Then they ALSO had tiny cups filled with popcorn, M&Ms, and pretzels. Pretty awesome snack station!
Station 4: Egg hunt with movement activities.
This was the first station in the cafeteria, where we had the final three stations. It's really nice to spread this party into two rooms, even though taking the kids up and down the stairs is always a little chaotic.
I found this pin and decided, yes---our Easter egg hunt should totally incorporate movement and not candy. I also wanted to do a separate hunt with puzzle pieces hidden inside, then the group could put together the puzzle as a team. But we couldn't find a puzzle with small enough pieces to fit in the eggs, that wasn't 200 pieces total.
So we stuck to twenty different activities, like '10 giant bunny hops', and '5 jumping jacks.' One kid at a time would find an egg, bring it to the group, and then they would all do that activity. It looked really fun from where I was standing!
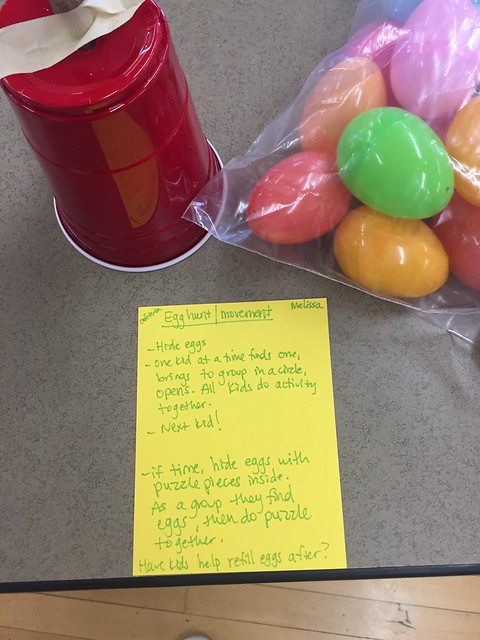
I printed the activities ahead of time, cut them, and filled the eggs with Cecelia one night. I suggested that the adult helper have the kids hide the eggs again when they were finished---I don't think there were too many sneaky hiding places in the wide open cafeteria, though.
Station 5: Easter egg relay game.
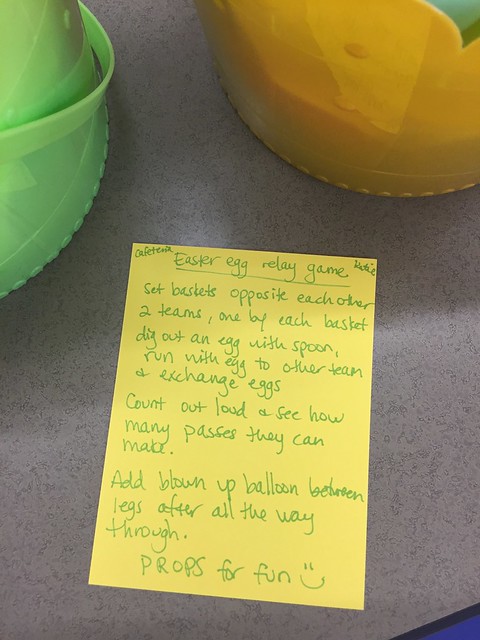
I believe I did a relay game for the Halloween party, too;) This time I found this pin and then I added a few Easter props that I had already (bunny ears, silly glasses) and thew in some balloons. The balloons were to be put between their legs to make the relay even harder. I had two Easter buckets, all of the eggs, and two plastic spoons to use for this game.
What ended up happening is the kids did a relay for about 5 minutes, then decided to hit the balloons around with the spoons.
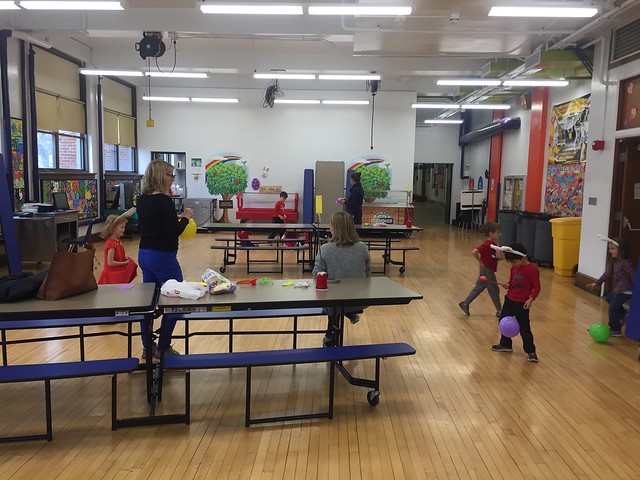
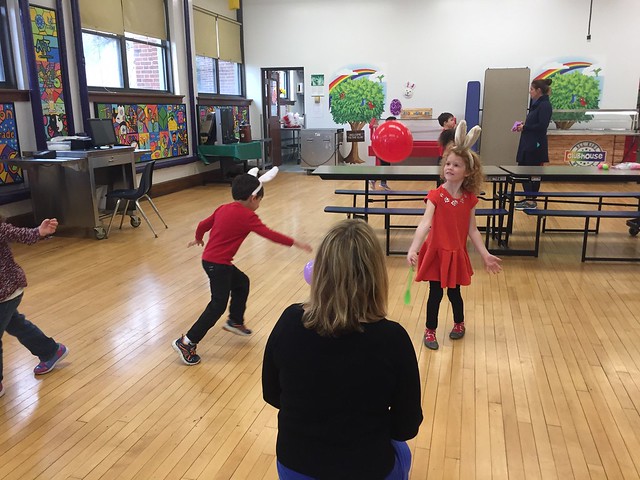
Whatever works, kiddos!!
Station 6: Teacher appreciation gift.
Since teacher appreciation week is in early May, I figured I could use this time in the classroom to makes something nice for their teacher. So many fun options on Pinterest, but in the end I thought a simple book would be best. I used this free printable and printed them ahead of time, then punched holes along the side so it's easier to make into a book later.
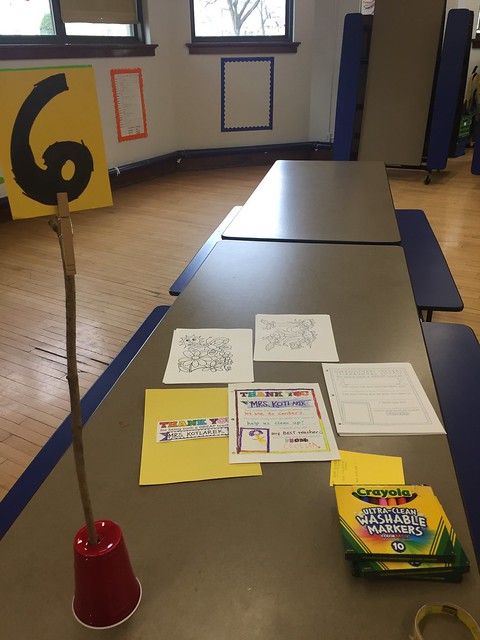
I decided to use two pieces of construction paper for the covers and had the kids all sign their name on the covers. I really wanted them each to draw a little person with their name on it for the covers, but I'm glad I kept it simple. Just doing the sheet of paper with each child, and having them write their name a second time on the cover was ENOUGH. The only thing I had to grab from the classroom for this station were the markers, otherwise it was all prepped.
I had two free printable coloring sheets for the last five minutes of my station, too. It was interesting to see which kids were very meticulous and loved coloring, while some of the others did a few scribbles and were d-o-n-e with the markers. So many personalities!
Also, some of their answers to the questions were priceless, and I'm obsessed with the differences in their portrait of the teacher:
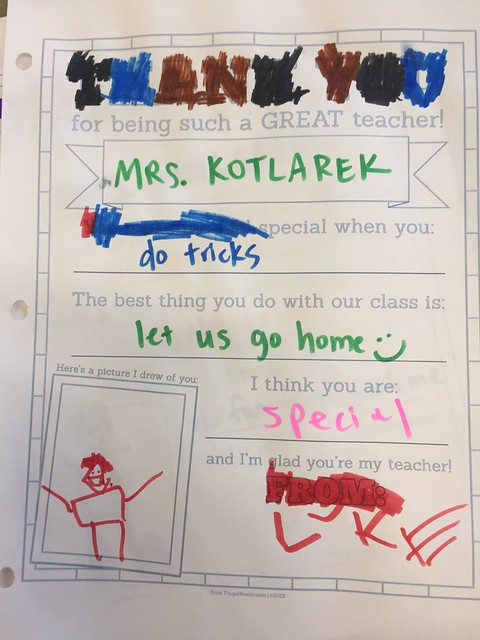
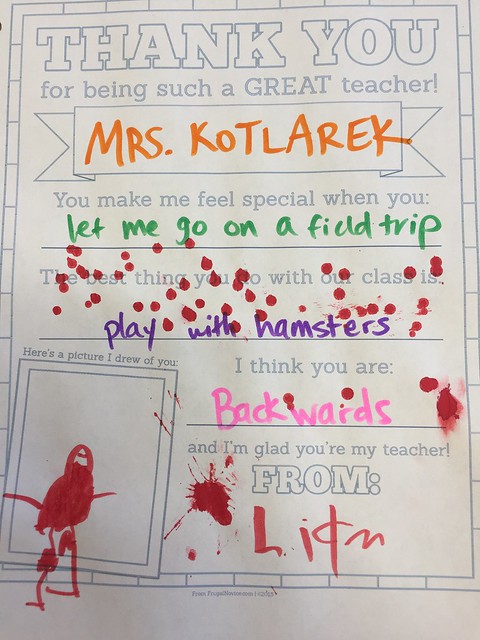
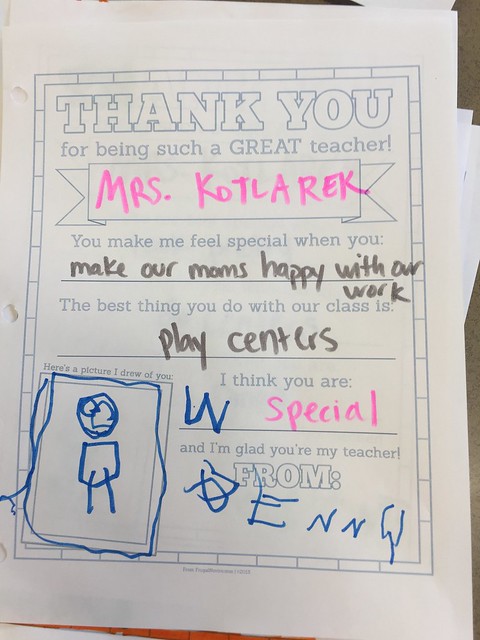
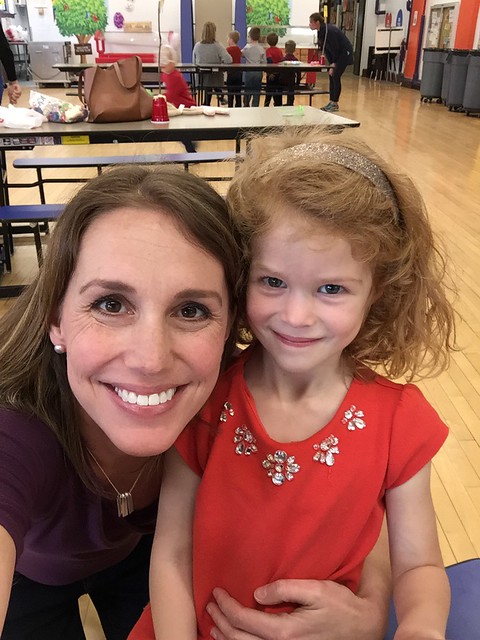
Got a selfie with my girl when she came through my station!! She was so proud to have me there, which makes all of the hard work 100% worth it.
We stayed on task and really did six, fifteen minute rotations through our stations. Clean up wasn't too awful and even the set up wasn't bad. It really helped to have it all written out on 'cheat sheets' for the helpers to keep at their stations. And it helped to have the kids divided into groups, written on cards that traveled with them.
All in all, an excellent 'spring' party! And now our kids are off school tomorrow and through all of next week. We are going to Chicago for two nights as a family next week for our little getaway and they cannot wait. Neither can we, actually---a much needed family vacation that is low key? Yes, please!
Room mom responsibilities: mostly done for the year. Whew!

Thanks so much for posting these classroom party activities with photos and giving details on materials, time, and how they worked! I save all your posts like this for my future reference. :) An oldie-but-goodie book my mom had and now I have is The Gesell Institute Party Book by Frances Ilg and Louise Bates Ames-- published in 1956! This book details what works (and doesn't) for birthday parties from age 3 to age 15, based largely on child development and what makes a party a success for that particular age. It's waaay out of print so you'd have to buy it used online, and due to its age some of what it suggests doesn't translate to today, but the basic nuggets of wisdom I've found to be spot-on and a good starting points at least for being prepared to entertain groups of children! The same child development institute produced a series of books I've checked out of the library at various points when I've been wanting to know more about what's typical for kids (beyond the baby stages) from ages 2 (Your Two Year Old: Terrible or Tender; Your Three Year Old: Friend or Enemy, etc.). Again, because it's a bit older some the language/thoughts are outdated but the basic points are super helpful. I've yet to find any better party planning book with specific suggestions based on age or child development books by age. If you (or anyone else) have suggestions I'd love to know of an updated version! https://en.wikipedia.org/wiki/Gesell_Institute
ReplyDelete