
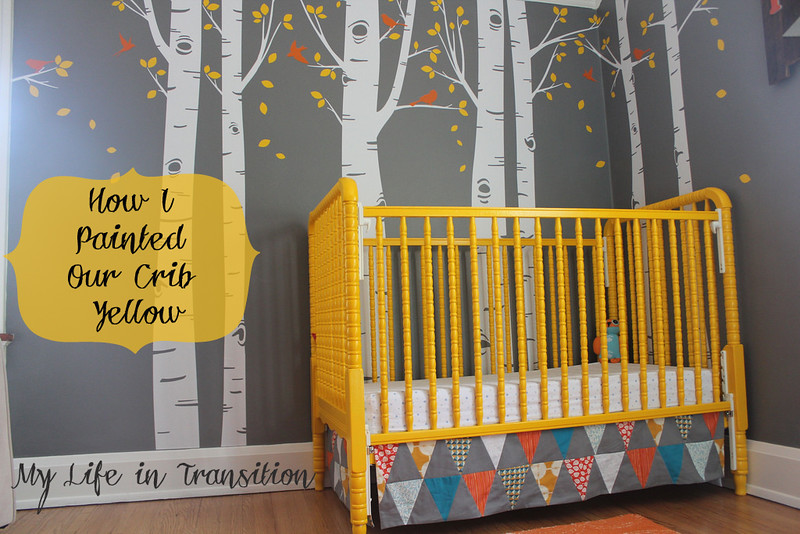
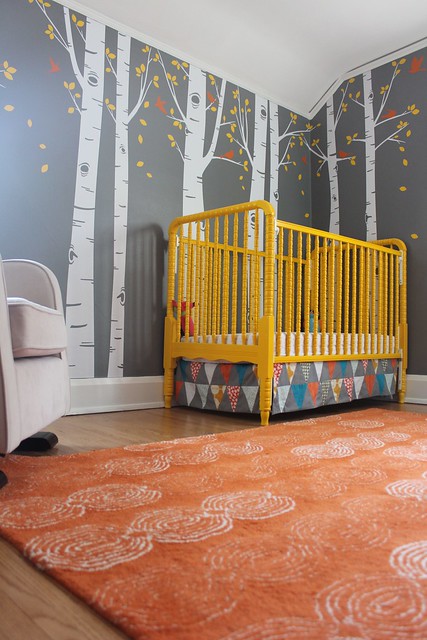
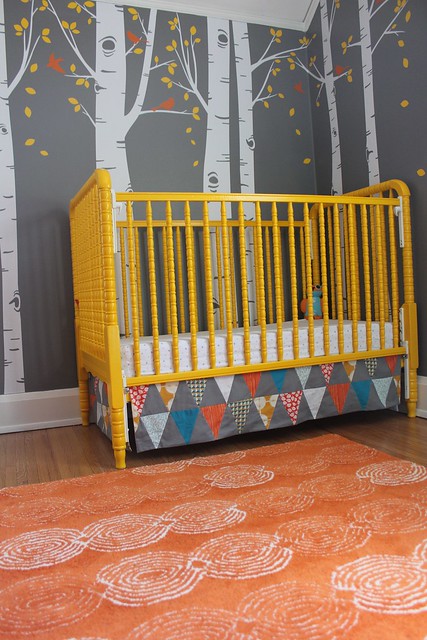
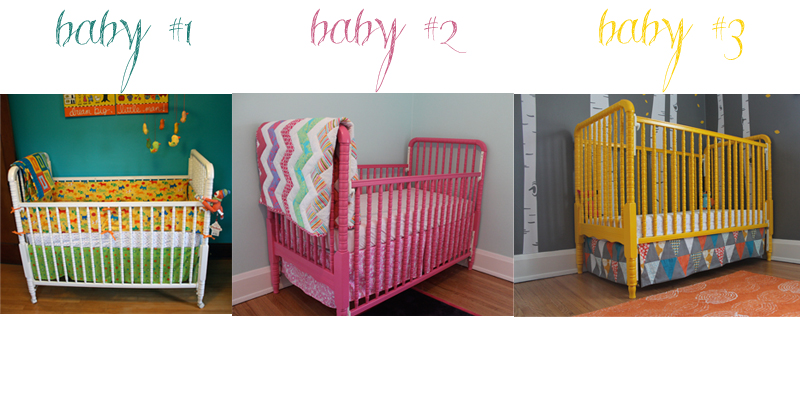
As a reminder: we found this (originally) white Jenny-Lind style crib on Craigslist for $40, back in 2009 when I was pregnant with Truman. He used the crib for almost two years while it was white. Then Cecelia got to use the crib after I spent many-an-hour painting it pink. And now? Same crib, third time around, but I went with a bright yellow for mister man. Something about using the same crib for every baby, but making it a little different each time makes me abnormally happy.
And of course, I have Pinterest to thank/blame for my love of painting all things in a nursery.
Here we go!
As I'm typing out this 'How To' post, I'm reading back over my 'pink crib' post. It still boggles my mind to see the stats on that particular post---over 40,000 views? Talk about some pressure to write this in a way that makes sense and is just as helpful. I will have a few tips/tidbits/thoughts at the end.
THE SUPPLIES:
-sandpaper
-multi-purpose, every day cleaner
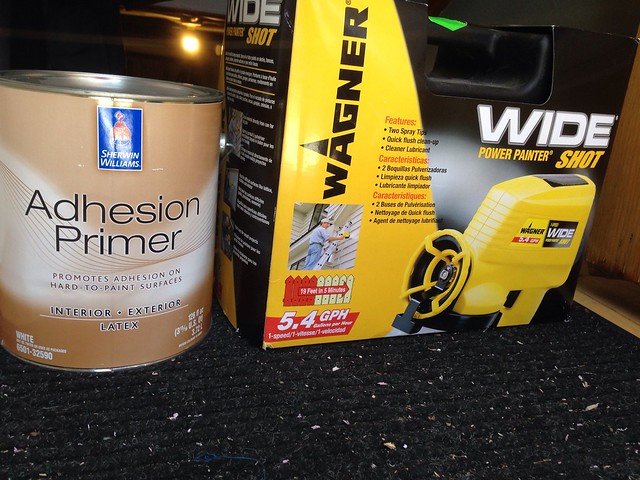
-Adhesion Primer from Sherwin Williams
-Wagner HVLP paint gun
-Behr semi-gloss wall paint (Saffron Thread color), paint brushes, and patience
-Water based MinWax polyurethane, paint brush, and more patience
-drill or a handy husband
1. The crib was already taken apart this time around, but I had Nate remove all of the hardware. Instead of taking pictures of all of the little pieces/screws to remember how they all fit together, I simply said, 'Make sure you can put it back together.' Spatial relations are beyond me. Thank you, husband.
2. I lightly sanded the pink paint and tried not to feel too sad about seeing it scuff up. It was in great condition and seriously did not chip at all when Cecelia used it. Then I cleaned the whole crib with regular Green Works multi-purpose cleaner. I didn't spend as much prep time this second time around because the pink paint was in great shape compared to the original white paint before it. Plus, I knew that I was going to use my most favorite primer that requires no sanding which made me feel very lax about this prep part.
3. Primer time: I am seriously obsessed with the Adhesion Primer from Sherwin Williams. Unfortunately, they don't even make this can anymore but according to the guy at the store, people are really missing it because it's the best. It will stick to pretty much any clean surface and it's water based, so I didn't have to worry about questionable fumes for my pregnant self. (Side note: my OB has always said that painting with decent circulation in the room is totally fine). I wanted to use our Wagner spray gun for the entire process because it was so easy last time.
Bye bye, PINK!

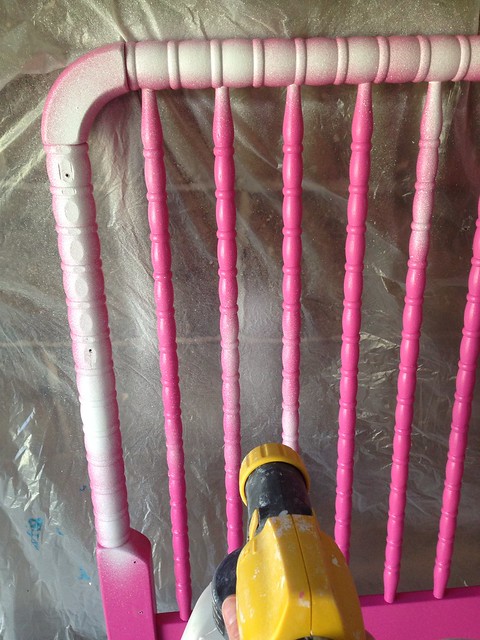
4. In the middle of my first coat of primer, I had to switch out between one can of primer that was almost finished, to a brand new can I hadn't opened before during all of the wood-trim painting inside of our house. I should have taken the 2 year old can right to Sherwin Williams to have them shake it up for me but I was impatient, and just tried to stir the heck out of it. Well, as I continued on with the first coat of primer on the backside of the crib, I realized it was super watery and drippy. And not covering very well. And then the spray gun kept getting clogged and life was just not good.
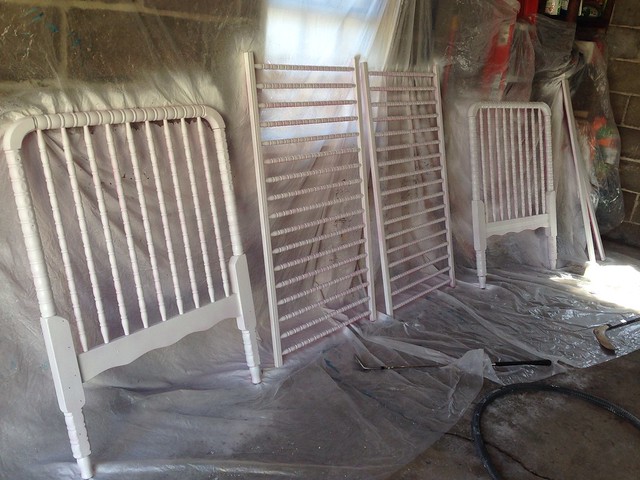
So I finished up the first coat the best I could and once it dried, I knew I had a mess on my hands. BLECH. I took the can to SW and had him shake it up for me, and he assured me that although you usually only need one coat, in this case I could just do a fresh coat of primer on top of the watery stuff and I'd be good to go. So I tried to sand off a few of the bigger drips and then HAND PAINTED another coat of primer on the problem areas. This is when I decided I didn't trust my paint gun anymore since it was kind of a pain for the primer anyway. And thus, hand painting became my way.
Total: 1.5 coats of primer, first with a gun and the other 'half' by hand, just to cover up the thinner areas of primer from before.
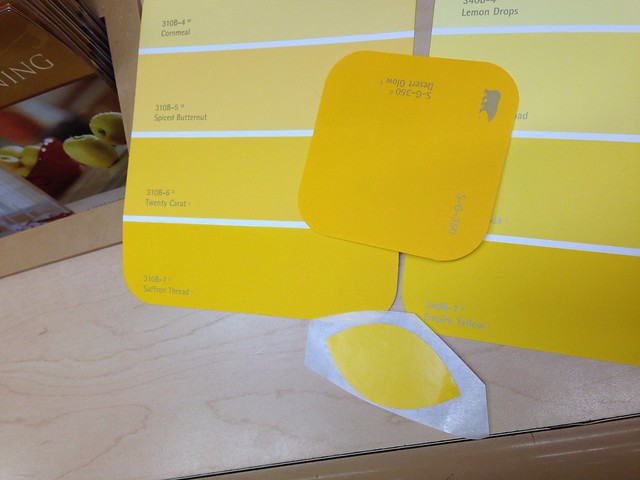
5. FINALLY time to pick my yellow paint! I brought in a leaf decal to Home Depot and Truman helped me select the perfect shade. We went with Saffron Thread, and I got it in semi-gloss like I always do for furniture. Last time for the pink crib, I was told a quart would be enough. But since I used the paint gun, I was truly scraping paint out of the can by the end. So this time I splurged and got a full gallon but of course, didn't end up needing even 1/4 of it. Of course.
6. I could have tried the spray gun again but it just made me nervous and like I couldn't quite control the process as well. Plus it was too cold to be out in the garage, so I set up shop in the basement and started at this baby with a brush.
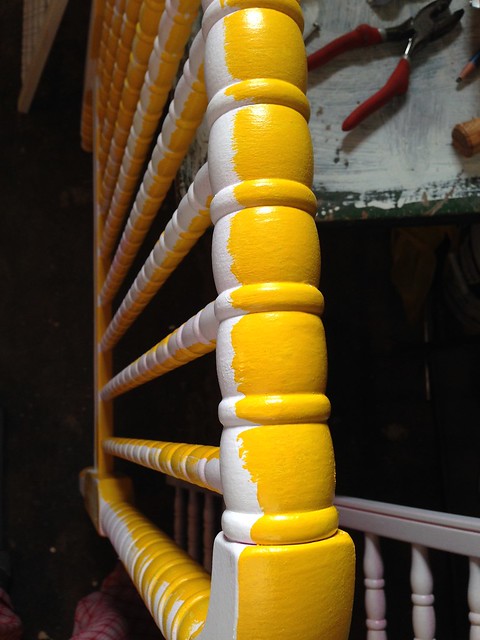
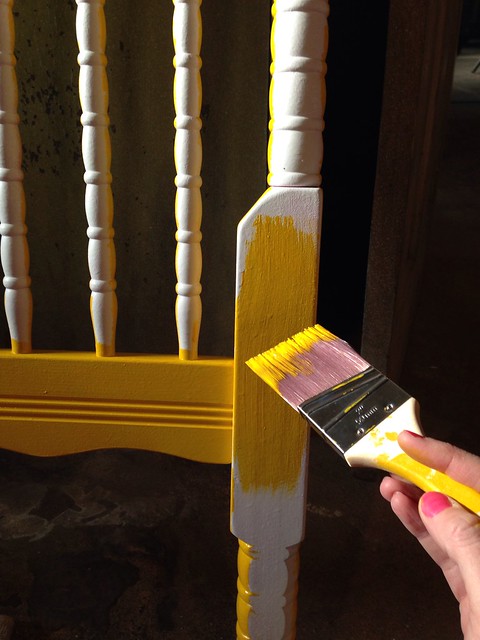
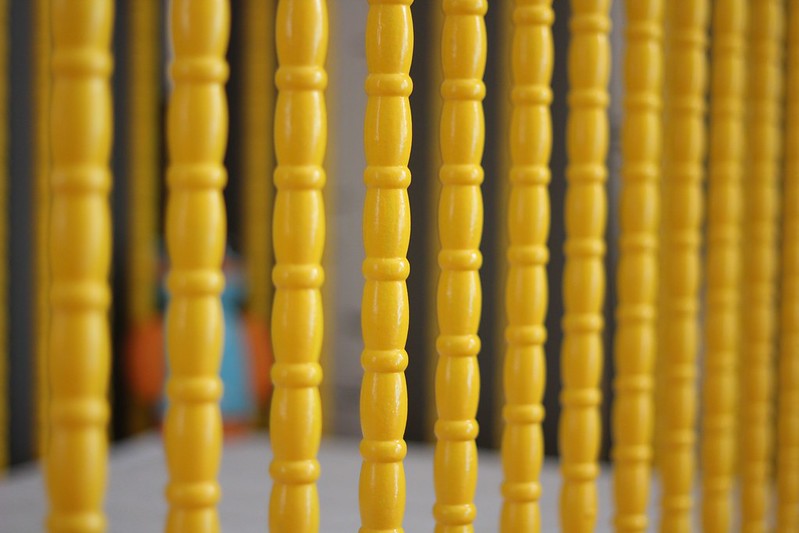
I did two full coats of yellow paint by hand, and then a few extra touch ups after that. So I will say 2.5 coats of yellow paint;) So many nooks and crannies! It's beautiful but it really did suck and require substantial patience.
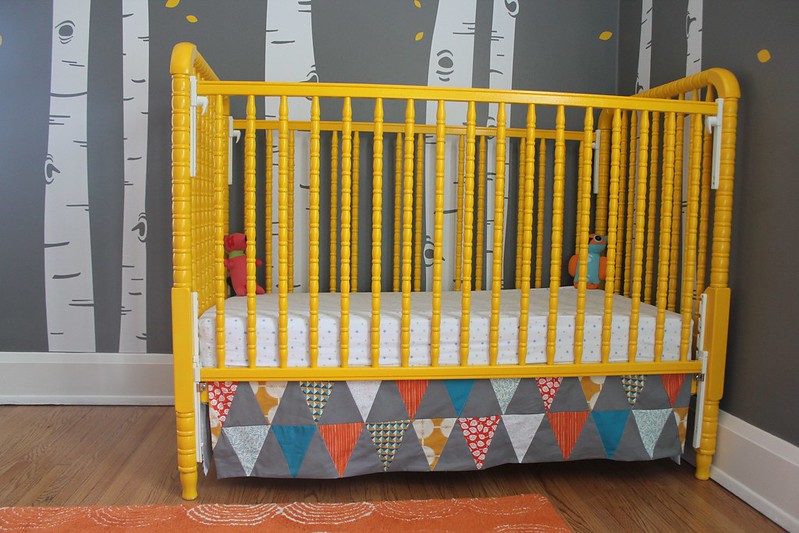
7. Polyurethane time. Haaaaaaaate this part so much, since this is when I just want to be totally finished. I actually had Nate reassemble the entire crib in the nursery first, without poly, to see if it looked shiny enough. It DID look great and maybe even better than the pink paint before it, but I could tell it needed the added protection of poly to really seal off the paint to prevent chips. I figured I should poly it to be extra safe even though none of my kids have ever chewed on this crib. I admit I only did one coat and called it 'good enough'. If baby boy ends up chewing the crib we will just have to do a rail protector or something. See more discussion below regarding the 'safety' of painting a crib.
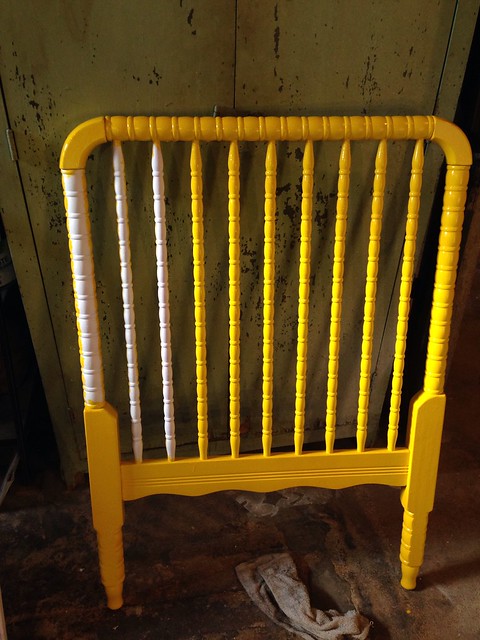
8. Final Results!! Nice and glossy and fairly smooth considering how many coats are on this baby now.
So to review:
-pink crib=lots of cleaning to prep, yellow crib=not so much (pink was in better shape than original white)
-pink crib=1 coat of spray can primer, yellow crib=1.5 coats of Adhesion Primer with spray gun
-pink crib=2-3 coats of pink paint mostly with gun, yellow crib=2.5 coats of yellow paint all by hand
-pink crib=3 coats of Poly by hand, yellow crib=1 coat of poly by hand.
Total coats of new paint on pink crib=7 including poly (not including original white factory stuff)
Total coats of new paint on yellow crib=5 including poly. But that's on TOP of all of the pink and previous white! Lots of paint on this baby right now.
All of the cribs in each of the nurseries. Yes, we had a bumper for Truman until it was outlawed and then it came down. Actually I am not sure he ever slept in the crib with the bumper as it was more for show anyway and neither of the kids actually sleep in their own bed for many months. Plus those quilts were not on the crib when the babies slept there (third quilt on it's way from GoGo!). And yes, this is actually a drop side crib but we have added metal parts from the manufacturer to keep the sides from falling down. Scandalous, I know! I feel very scandalous in general with this post (a picture of a crib bumper, drop sides, and a toxic painted crib!)
My take on the 'safety' of painting a crib, since that tends to be a hot topic on Pinterest: I used water based polyurethane to seal off and protect the water based wall paint underneath. I assume that is much better than using an oil based paint or poly, but it was also just safer for me to use while pregnant anyway. In my mind, as long as the paint doesn't chip off into the kid's mouth it is probably not the worst thing in the world for them to bite. So my goal was to make sure this paint job remains in tact, like the pink paint did so well for Cecelia.
Like I said before, neither of my kids has ever chewed on this crib. If this third baby is a chewer, we will have to use some sort of rail protector....or just move him into a big bed? Or get him out of the crib before he starts to gnaw? I don't know, I can't get too worked up about it. I figure that chewing on a 'factory painted' crib is probably just as bad as chewing on one that I painted myself. What is the difference, really? Are they using a completely non-toxic paint without any chemicals in the factory paint jobs? I doubt it unless you are paying big, big bucks for a environmentally friendly crib. Maybe I'm just not one to be overly concerned with chemicals, which may or may not be a good thing about me as a mom. Maybe you are concerned with chemicals and a painted crib, and that is fine, too!
That said, I have also seen comments on Pinterest about researching non-toxic, 'totally safe' paints for this project. I'm sure that would work just as well as long as they can get you the color you like! I just did it with the above steps because that is what worked for me in the past (with a few minor tweaks), but obviously there are many many ways to paint a crib.
I think most of them would be 100% easier if wine were involved, however. :)


Wine just makes everything better, doesn't it? ;) Soon!
ReplyDeleteLove it. Your best nursery yet, as I already told you. I'm in love with it!! Nice work. That's one lucky little guy in your belly!!
Thanks for sharing! I am getting ready to tackle my crib painting project and was going to ask you how you did yours!! Looks great!! Can't wait for your final nursery reveal!
ReplyDelete"I figure that chewing on a 'factory painted' crib is probably just as bad as chewing on one that I painted myself." So true. Never thought of it like that! We are trying for baby #2 and I am looking forward to redoing the crib. I want to use polyshades to darken the color of the wood stain.
ReplyDeleteThe yellow looks great!
Awesome awesome awesome! I love that all three kids used the same crib. That melts my heart. You're going to have to figure out some way to turn it into a bed or something that you can keep forever in your home, once #3 outgrows the crib. Or just keep him in the crib until high school...that's my plan with Mac.
ReplyDeleteHey, it's Luke's crib! ;) Looks so awesome, you did a great job!
ReplyDeleteThe crib looks BEAUTIFUL. You did all that work. Now will the child ever agree to sleep in there? Mostly they want to sleep right tight against their best friend, Boob. Then later there's the restful night of kicking Dad in the back. I have a lovely crib in my basement that hardly anybody ever slept in, one child even preferring a blanket nest on our floor. But this is a lovely nursery and I hope your little sweetheart appreciates it. And if he doesn't? There's no finer place to store a mountain of stuffed animals.
ReplyDeleteTotally, Val! The other kids didn't even try their crib until 2-3 months in...and after that, they'd go to sleep there for the first stretch at night and end up in our room for the rest. For many, many months....so yeah. This crib won't get used for quite some time, I'm sure!! ;)
DeleteOh my gosh, this looks so good. LOVE the yellow.
ReplyDeleteHenry has destroyed some of the top of our Jenny Lind so it's definitely getting refreshed if we have another. Pinning this post.
Love the yellow love the yellow love the yellow!
ReplyDeleteThis is so inspiring and so sweet to see the same crib used for all 3 babes! I'm in the process of planning (and hopefully not chickening out) on painting our JL crib for #2. But all the sanding and so many steps, with a toddler too. sigh. Around what weeks in your pregnancy did you manage to paint the crib? I need to hurry but #1 is still sleeping in it and we have to transition her first. Thanks for all the tips!
ReplyDeleteI think it was late in my second trimester/early in my third when I painted it--shortly after transitioning the baby out of his/her crib so I could reuse it for their sibling! I know I moved Truman out of his crib a few months before he turned two, and Cecelia was a little earlier--mabye 19-20 months?
DeleteIt's hard to find time for projects like this, but once you get going it can be fun. I usually do projects during nap time and after bed time/on weekends and try to hammer them out quickly if possible!
What type of primer do you recommend now that SW doesn't make that primer anymore?
ReplyDeleteHmmm, I'm not sure. If you are starting with bare wood I would use any sort of water-based primer. But if you are going on top of paint already, I would probably just buy the paint that has primer built in and call it a day.
Delete